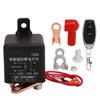
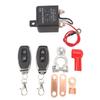
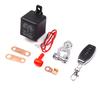
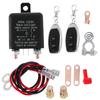
Feature:
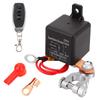
1. Remote Control: The remote battery disconnect switch enables you to remotely turn off your car s power system with just a few clicks of the remote controller.
2. Easy to Use: This electromagnetic battery switch is designed to give you the convenience of moving the trigger from under the hood to your hand.
3. Improved Safety: With this battery on off switch, you can turn on the battery before starting the engine, improving the safety of your vehicle.
4. Long Range Remote Distance: With a remote distance of up to 160 feet, this switch allows you to control your car s battery from a distance, providing you with more flexibility.
5. Strong and Stable Signal: The outer antenna design of this battery switch makes the signal stronger and more stable, ensuring that your car s battery is turned on or off quickly and efficiently.
Specification:
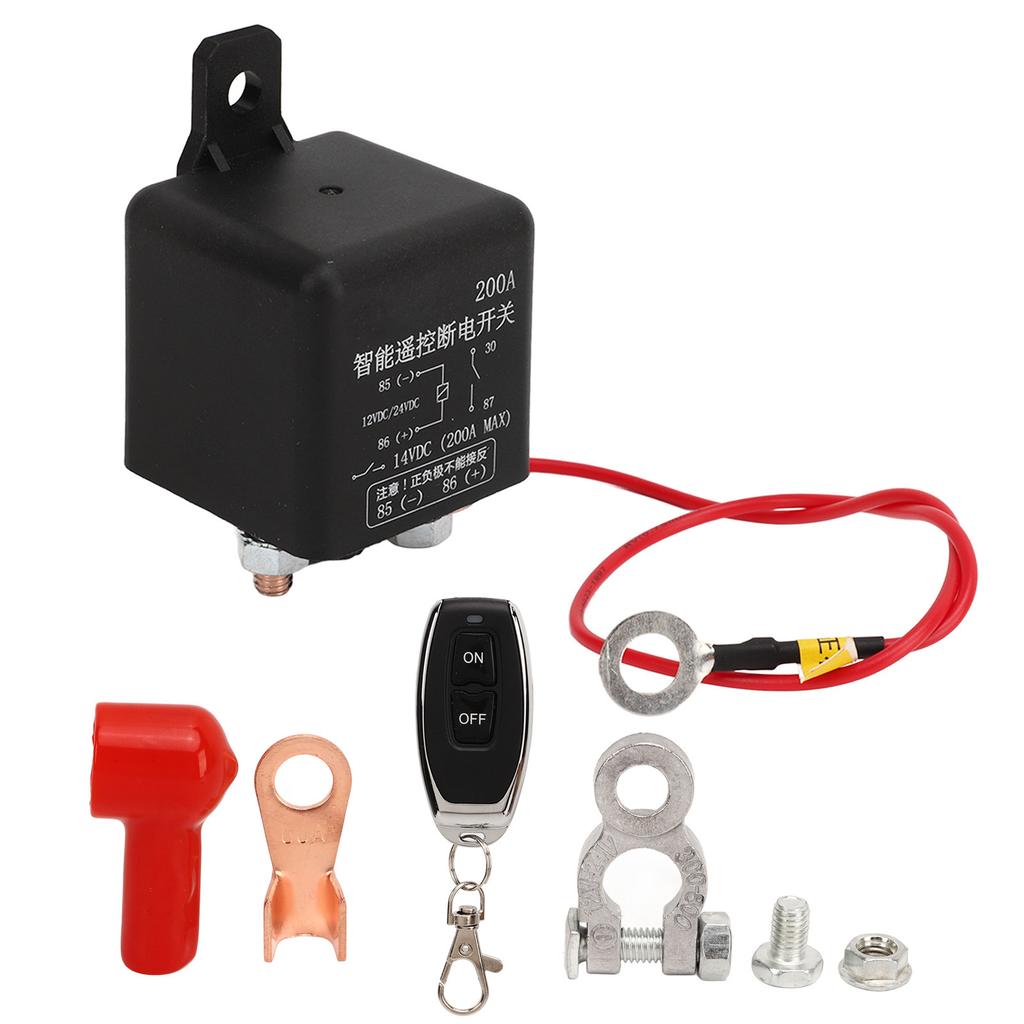
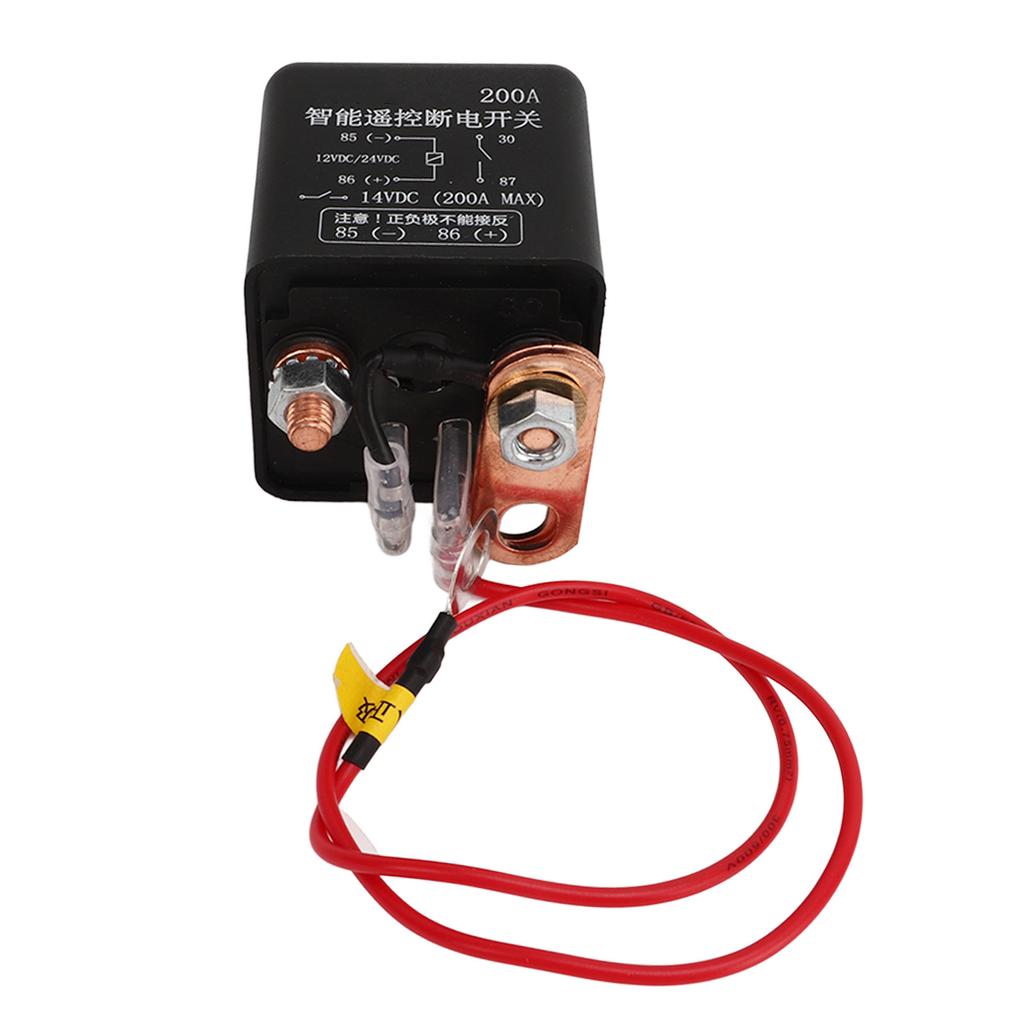
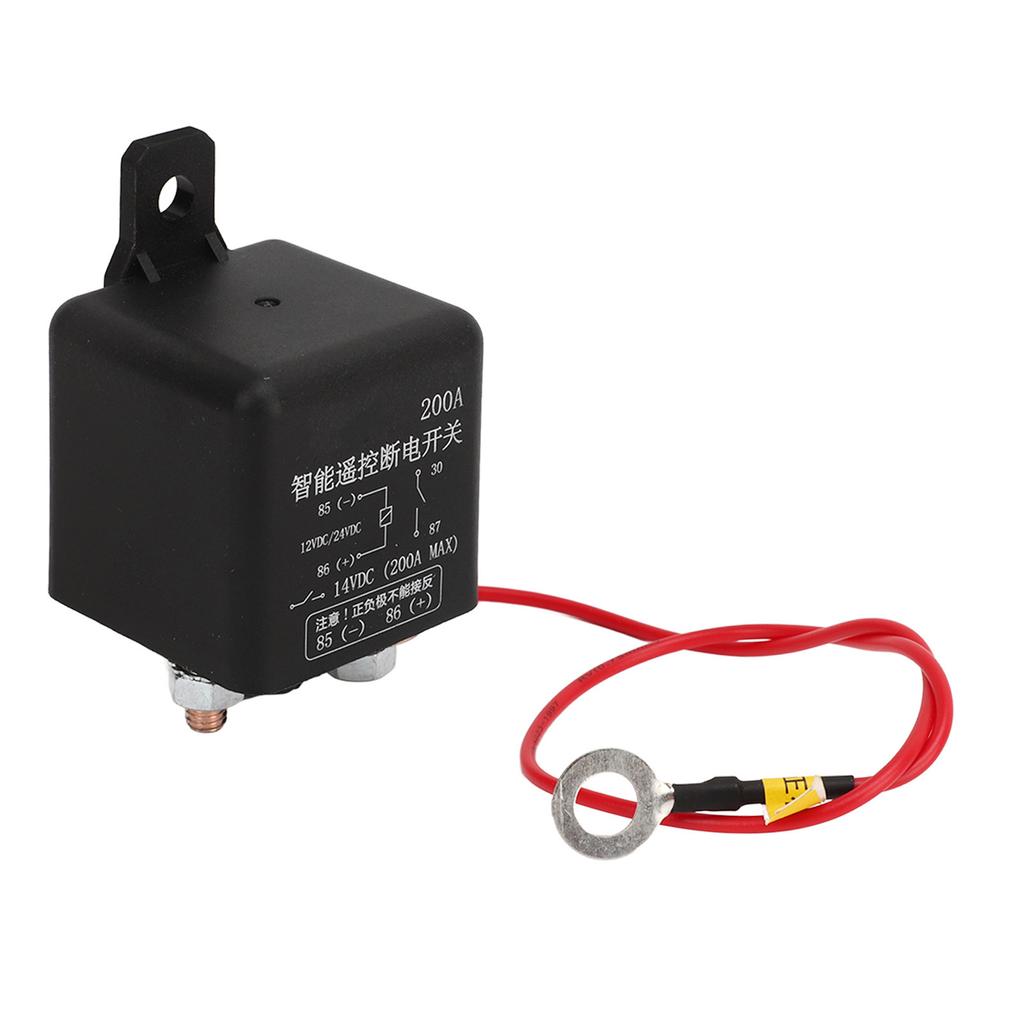
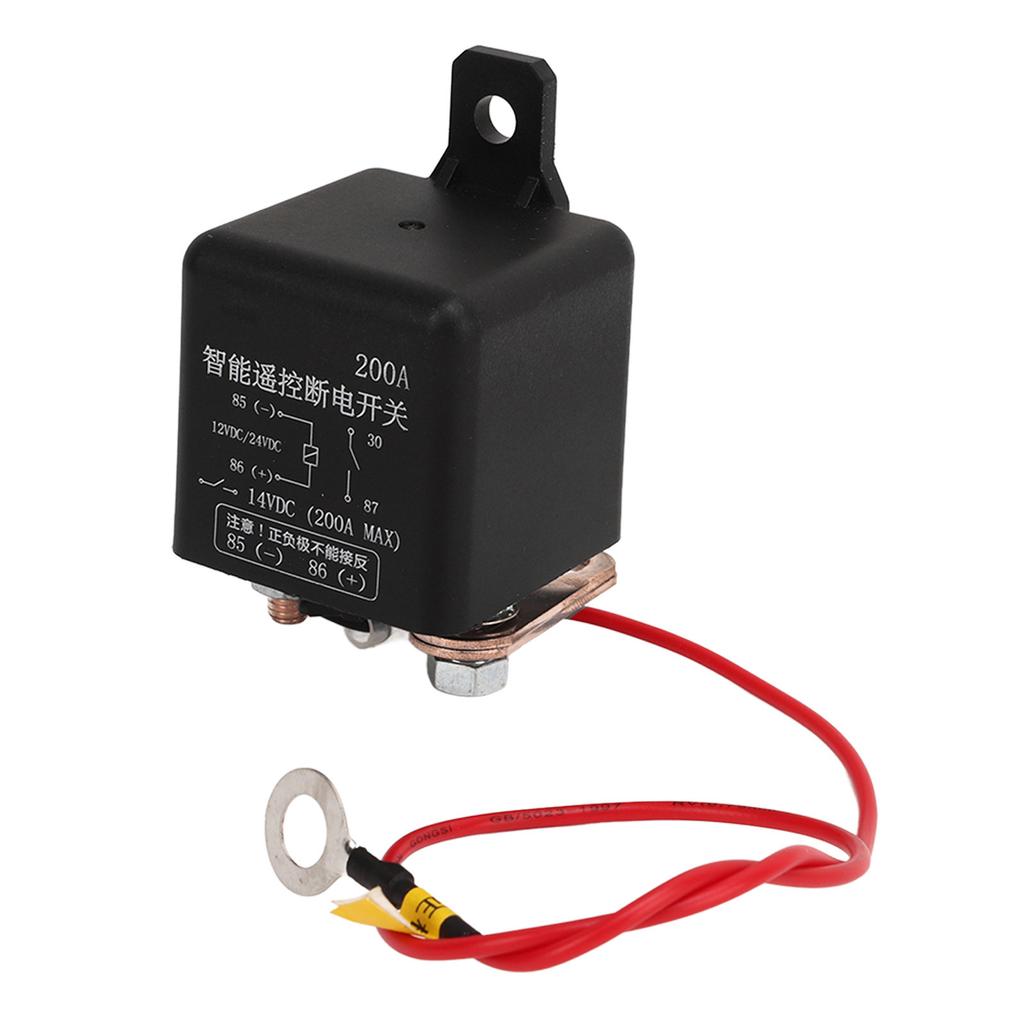
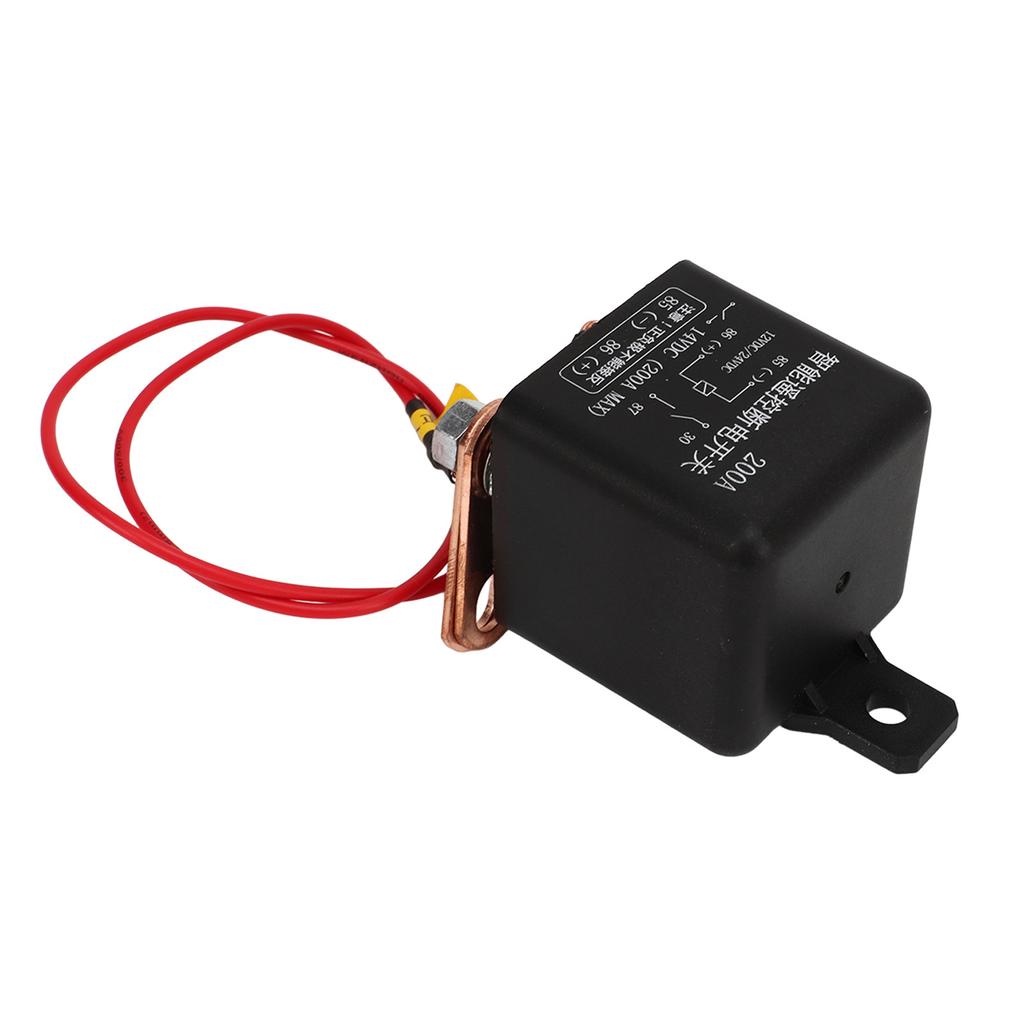
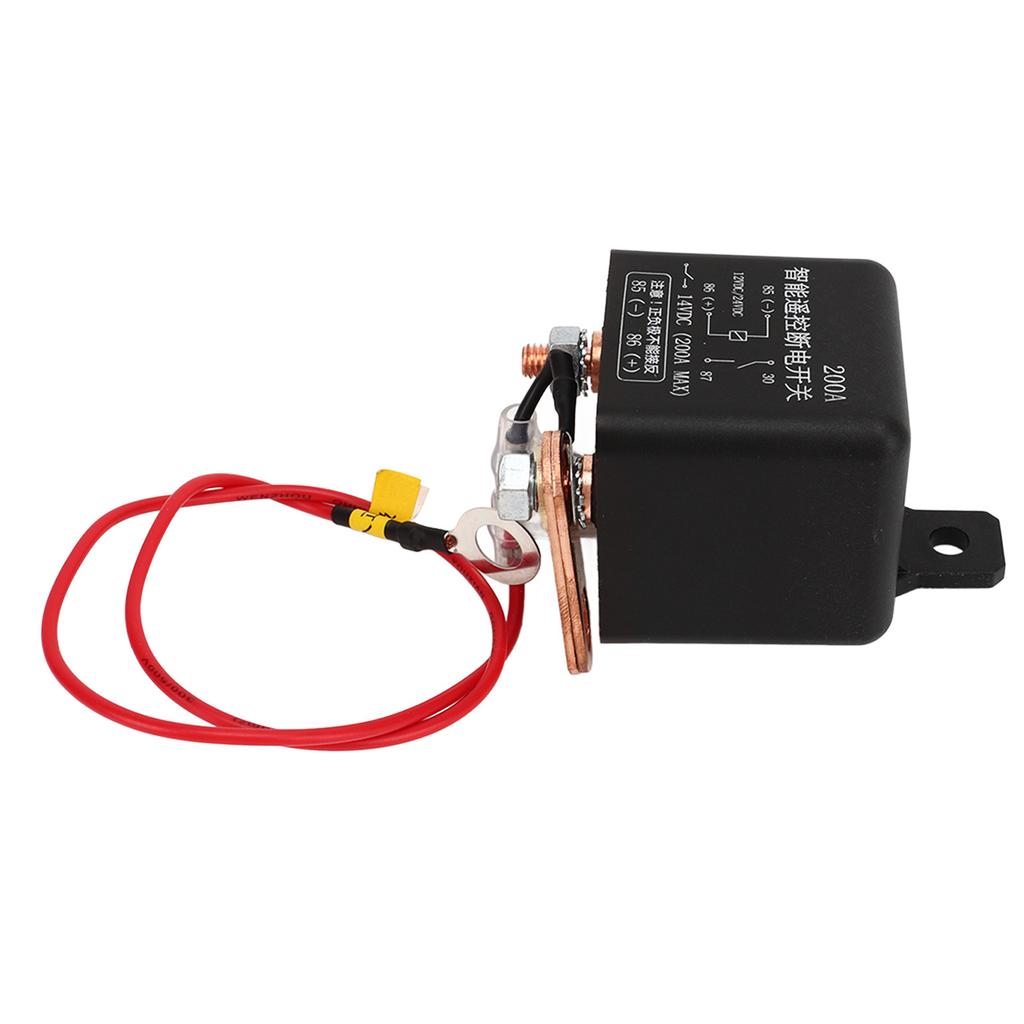
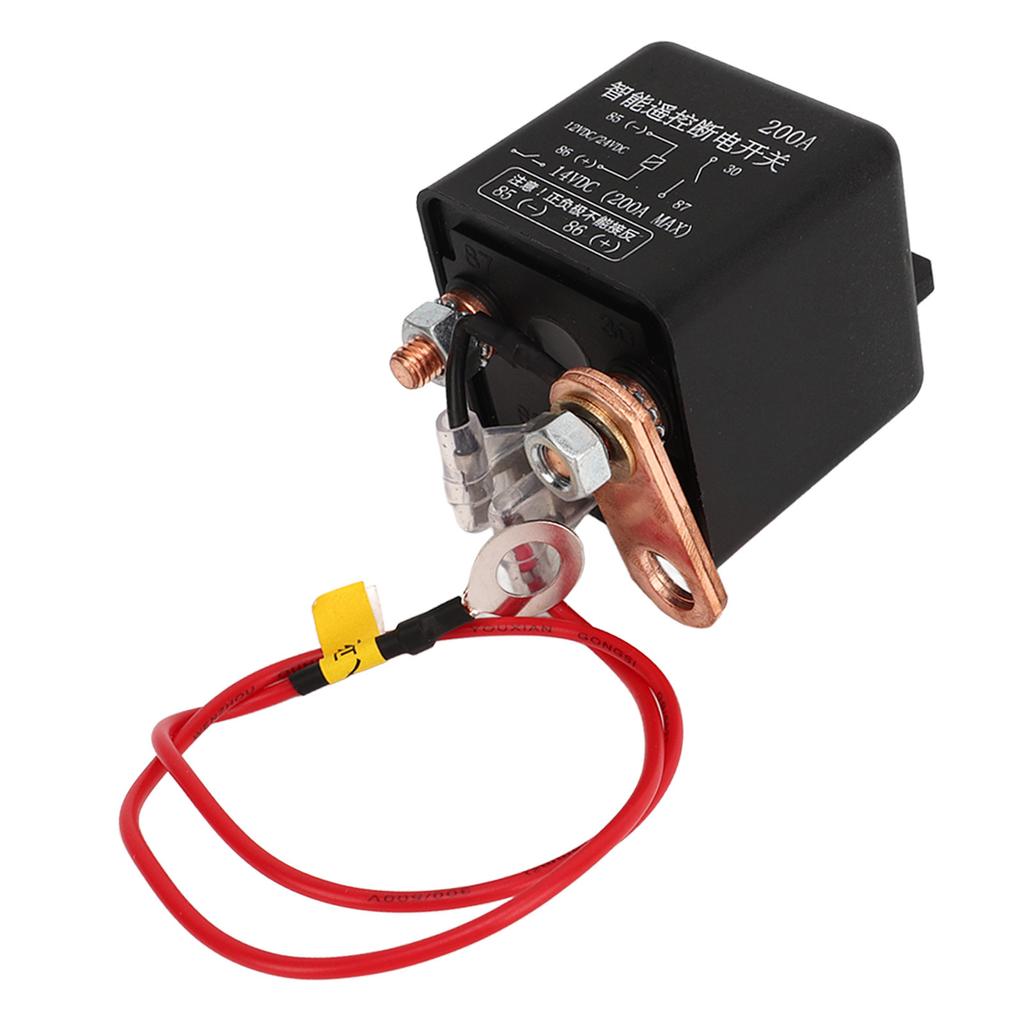
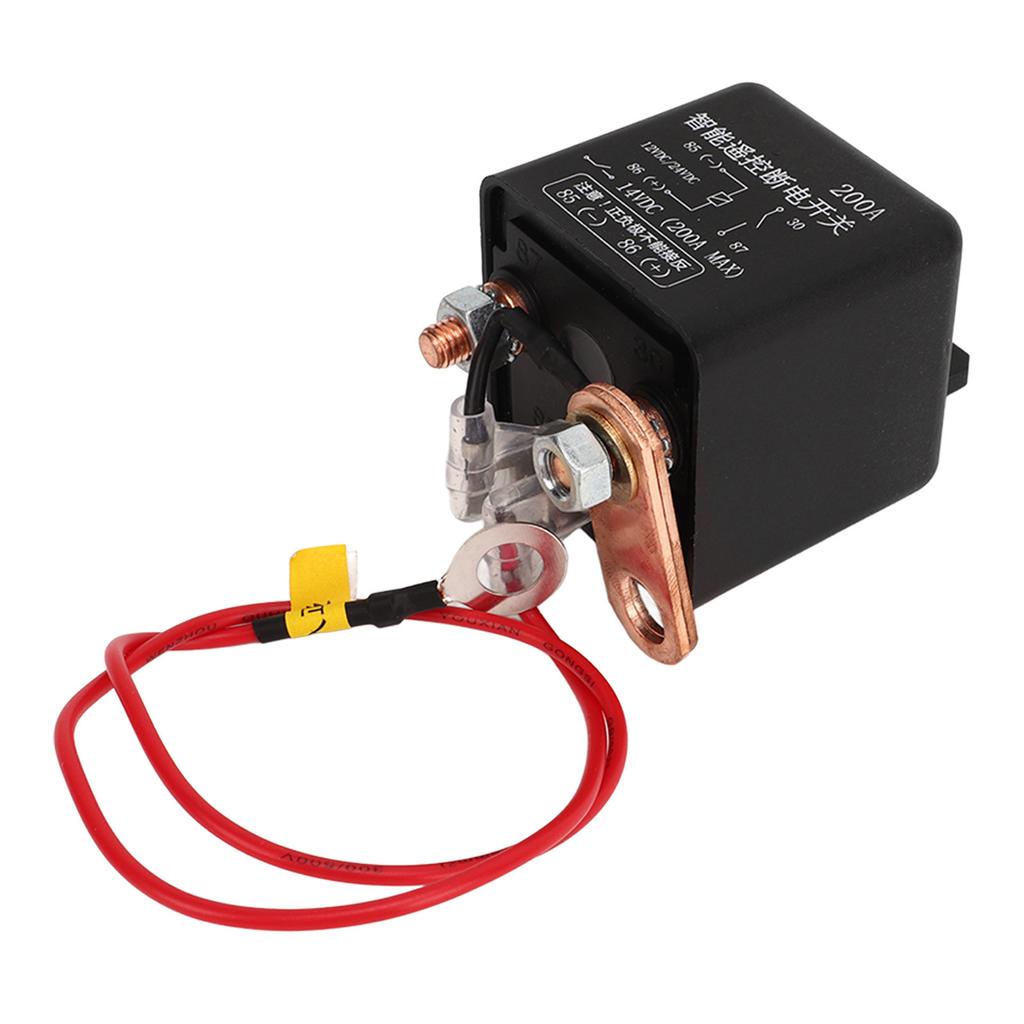
Item Type: Battery Disconnect Switch
Material: ABS + Metal
Operating Voltage: DC9V 28V
Operating Frequency: 433.92MHZ
Static Current: 5mA
Load Power: 800W
Pairing Mode: Key Learning
Receiving Sensitivity: >97dbm
Working Mode: Pointing Self Locking Interlocking Timing
Support Code Chip: Learning Code 1527
Operating Temperature: 10 celsius +70 celsius
Battery Type: CR2016 x 1 capacity 75mAh (one battery per remote control) (built in battery)Installation Method:
1: The thin red wire is connected to the positive electrode of the battery, and the thin black wire is connected to the negative electrode of the battery, which supplies power to the switch, and the remote control switch consumes very little power.
2: The 2 large terminals on the relay switch are the main switch. One incoming line and one outgoing line, in no particular order, only on and off.
3: When controlling the on off of the negative electrode, a large terminal is connected to the negative electrode of the battery, and a large terminal is connected to the negative electrode of the battery (the same for the positive electrode)
Instructions for setting the 3 working modes of the wireless remote control switch:
This wireless control open day has 3 working modes: instant mode (jog), switching mode (self locking), locking mode (interlocking)
Instant mode (jog): After the mode is successfully paired, press and hold the remote control button (for example, A), and the corresponding relay on the receiver is turned on; release the remote control button (for example, A), and the corresponding relay on the receiver is turned off;
Switching mode (self locking): After the mode is successfully paired, press the remote control button (for example, A), and the corresponding relay on the receiver is turned on; press the remote control button (for example, A) again, and the corresponding relay on the receiver is turned off;
Lock mode (interlock): After this mode is successfully paired, press the remote control button (for example, A), and the receiver relay opens; press the remote control button (for example, B), and the relay on the receiver closes.
Delay mode (delay 5 seconds, 10 seconds, 15 seconds, 20 seconds off):
After this mode is successfully paired, press the remote control button (for example, A), and the corresponding relay on the receiver will be turned on; disconnect after delaying to the corresponding time. (Press the receiver button 4 times to pair, delay 5S to close the corresponding relay; press the receiver button 5 times to pair, delay 10S to close the corresponding relay; press the receiver button 6 times to pair, delay 15S to close the corresponding relay; press the receiver button 7 times to pair, delay 20S to close the corresponding relay; when the relay is not closed, press the remote control again to start the delay timing again)
Set the working mode of the wireless remote control switch
Please observe the status of the indicator light carefully, if the setting is wrong, the receiver will not work properly.
Set instant mode (click):
Step 1) Press the Learn button of the receiver once. Wait for the LBD on the receiver to light up and enter the setting state,
Step 2) Press the button on the forcing device (eg button A) once. The LED indicator on the receiver will flash, then go out, and the jog mode setting is successful.
Set the toggle mode (self locking):
Step 1) Press the Learn button on the receiver 2 times. Wait for the LED on the receiver to light up and enter the setting state.
Step 2) Press the button on the pass controller (eg button A) once. The LED indicator on the receiver will flash and then go out, and the self locking mode setting is successful
Set the lock mode (interlock):
Step 1) Press the Learn button on the receiver 3 times. Wait for the LED on the receiver to light up and enter the setting state.
Step 2) Press the button on the remote control (eg the A button) once. The LED indicator on the receiver will flash and then always on; at this time, press another button on the remote control (eg the B button) once, the LED indicator on the receiver will flash and then go out, and the interlock mode setting is successful.
Delay Mode (Timing):
Step 1) Press the learn button on the receiver as required (the delay closing time is: press the learn button on the receiver 4 times, then delay 5 seconds to close, 5 times 10 seconds, 6 times 15 seconds, 7 times 20 seconds) Wait for the LED on the receiver to light up and enter the setting state.
Step 2) Press the button on the pass controller (eg the A button) once. The LED indicator on the receiver will flash, then go out, and the delay mode will be set successfully.
.
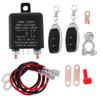
Package List:
1 x Switch1 x Remote Control1 x Battery Clip1 x Copper Nose1 x Screw1 x Nut1 x Rubber Tube
Note:
1. Do not connect with electricity, turn off the power supply for wiring, and use it after the test is confirmed to be correct.2. When the remote control voltage is insufficient, please replace the battery in time (when the remote control battery voltage is insufficient, the general remote control distance becomes shorter)3. When using wireless electronic products, you should pay attention to avoid metal masks, large electronic equipment, electromagnetic fields, etc., which have strong interference sources, and avoid the remote control from being short or unable to work normally.4. Do not use this electronic product abnormally. Abnormal use will reduce the performance and life of the product, and damage to the product in severe cases will also bring hidden dangers to your safety.


 No-delivery refund