High-concerned chemical : None
Light Source : LED
Color Temperature : 6500K
Voltage : 24V
Light Source : LED
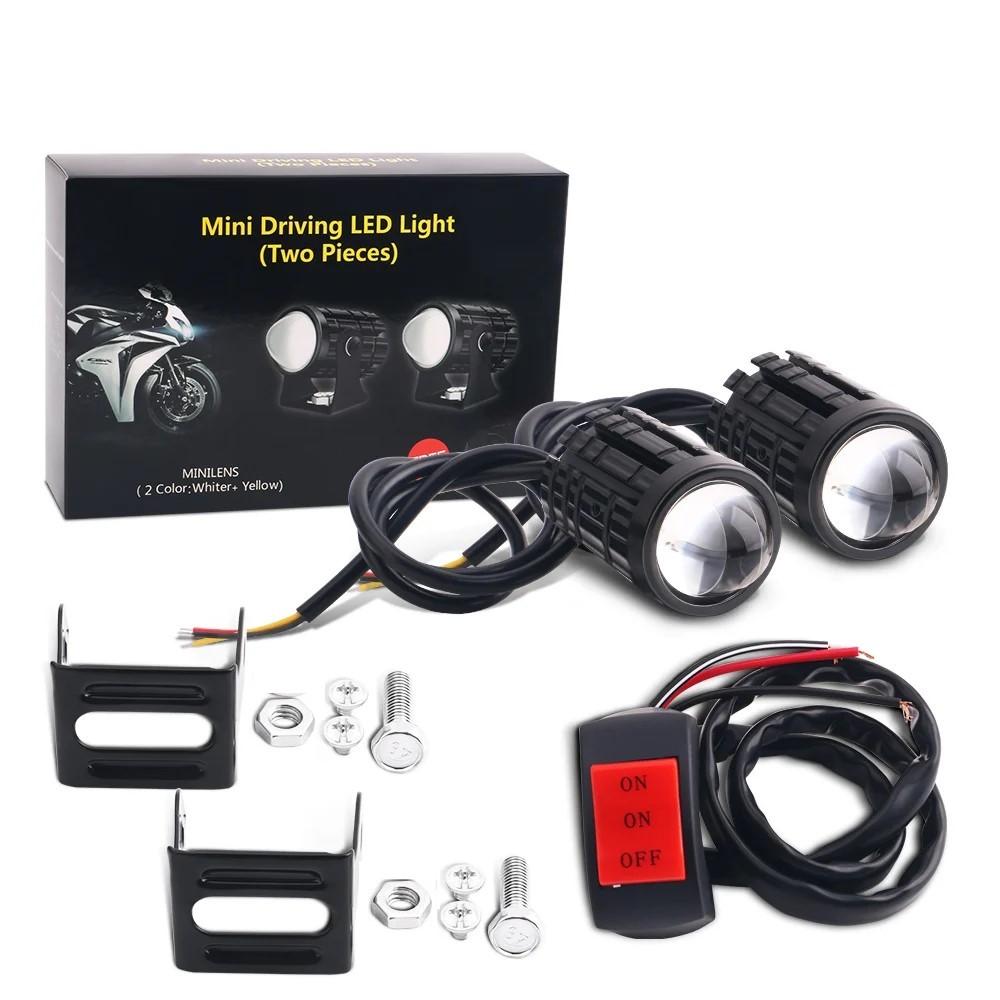
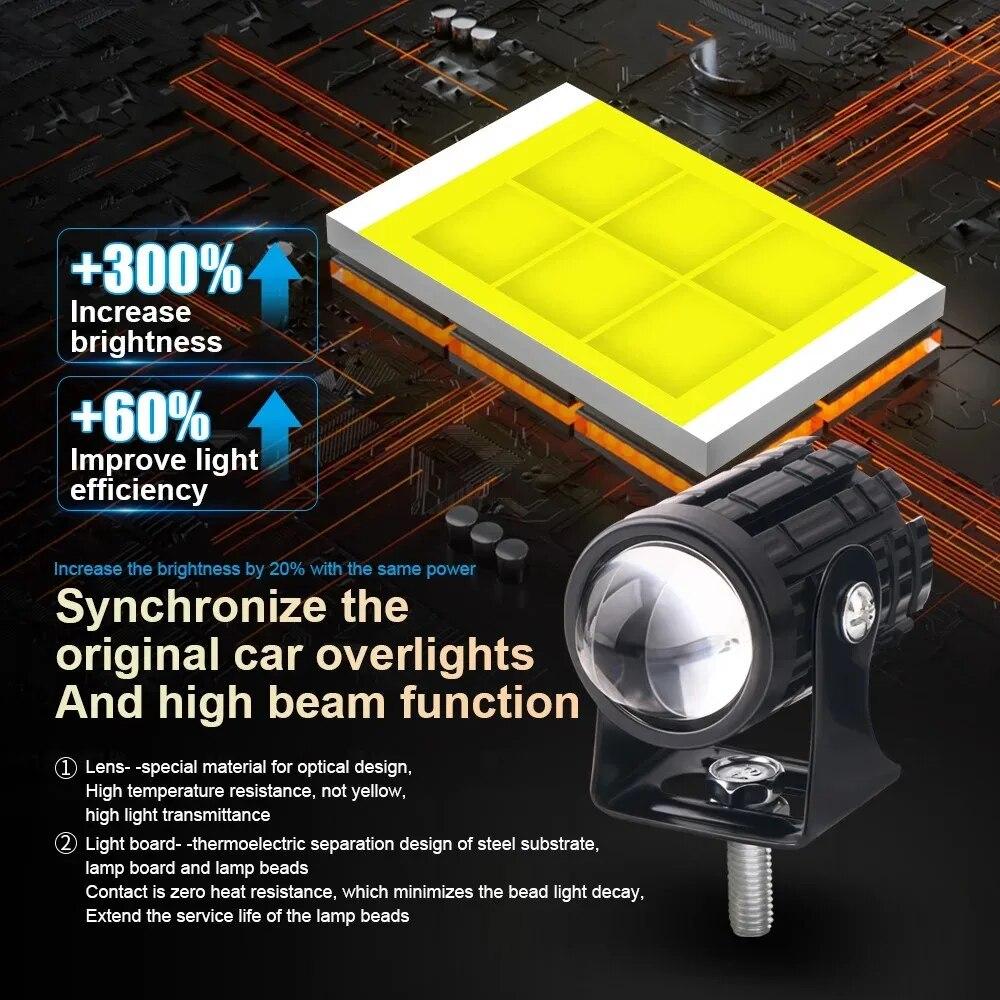
Features:
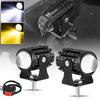
--LED color temperature: 6000k
-- Flux: 3600LM
--Chip: 3570 LED
--Protection level: IP67
--Voltage: 12V-80V DC
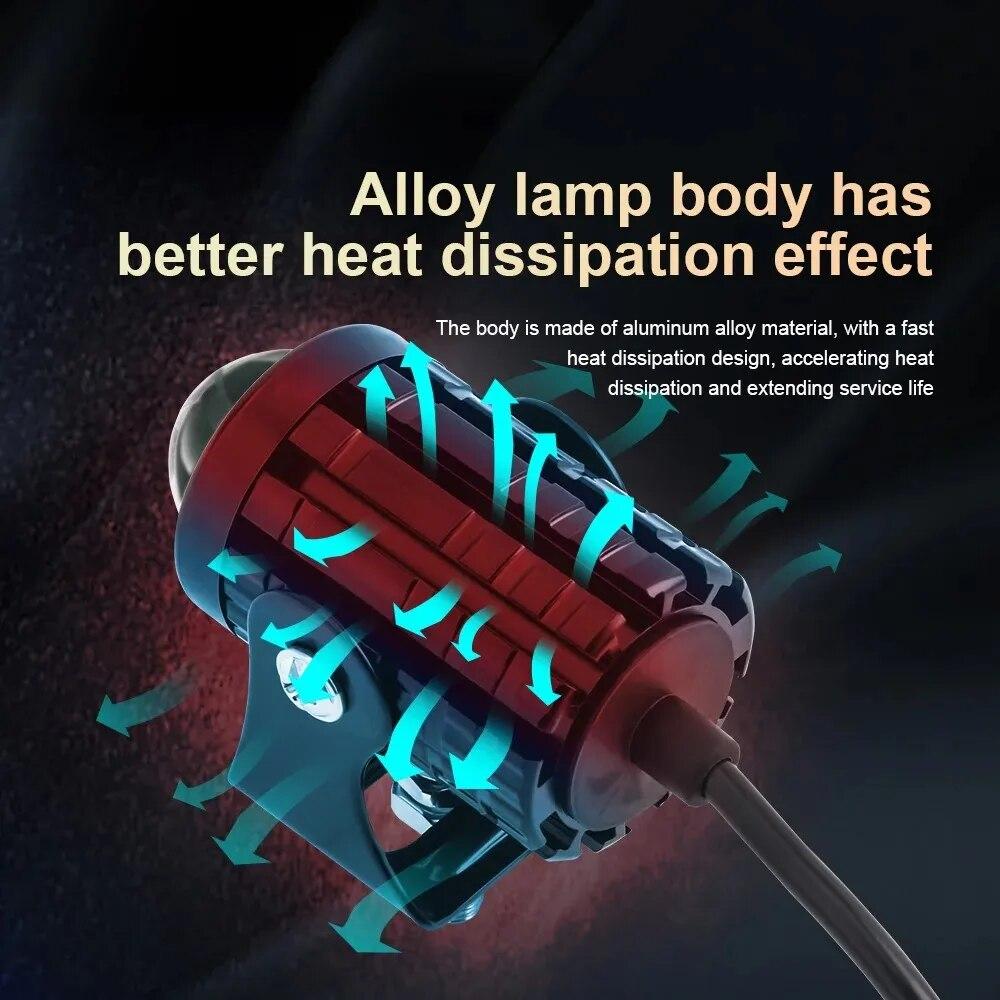
--Material: aluminum alloy + ABS
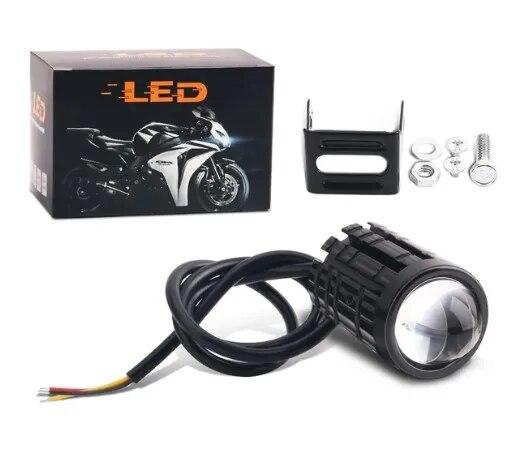
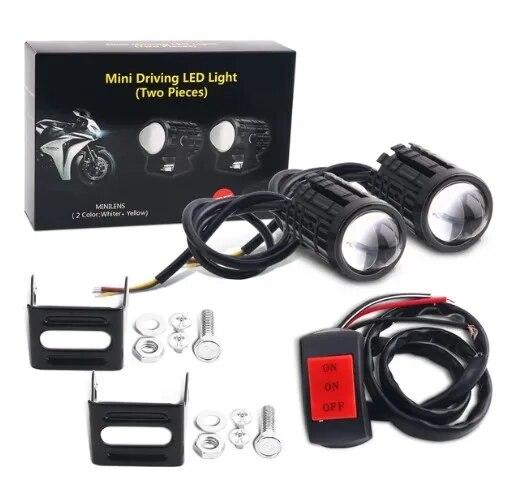
Package include:
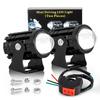
Q1: What is this product and what are its key features?
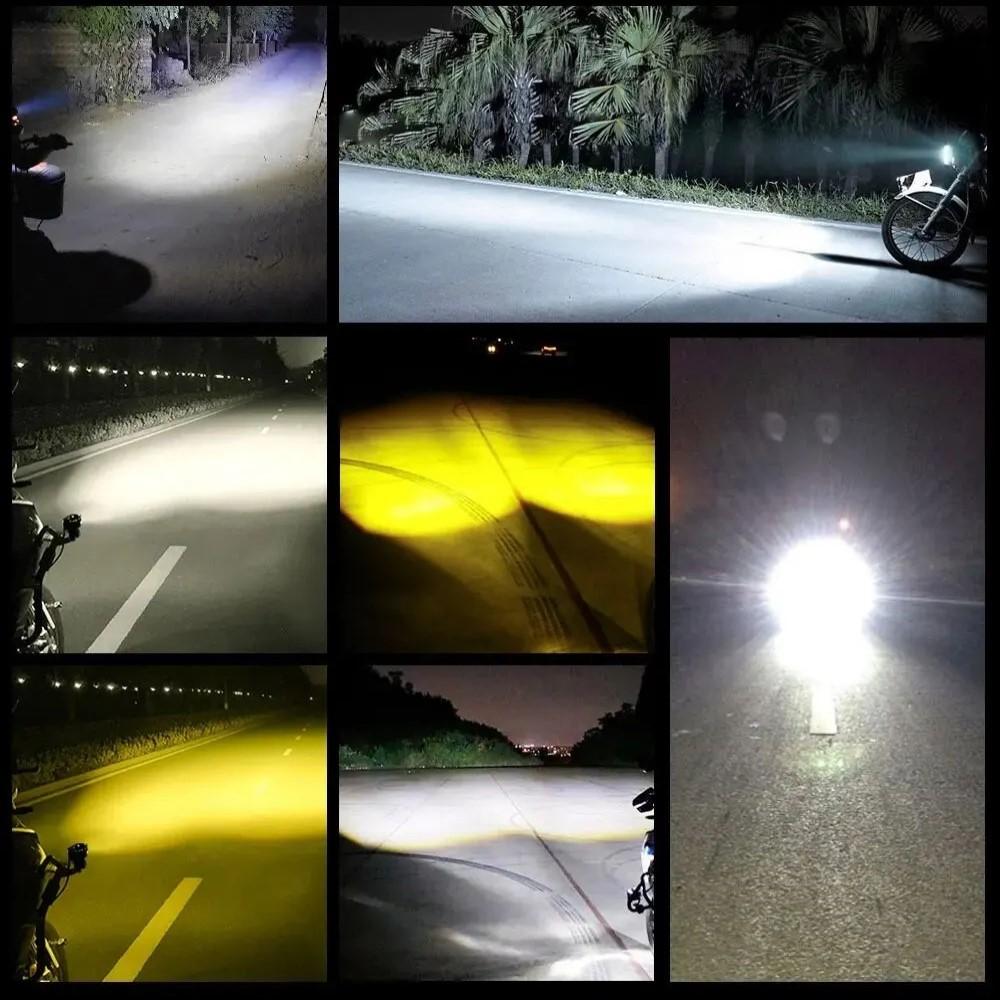
A: This is a universal LED projector headlight designed for motorcycles, ATVs, scooters, and other vehicles. Its key features include:
Q2: What's included in the package?
A: Typically, you should receive:
Installation InstructionsQ3: How do I install this headlight?
A: Installation involves mechanical mounting and electrical wiring.
Mechanical Mounting:
Disconnect Battery: Always disconnect the negative terminal of your vehicle's battery before starting.
Remove Old Light: Carefully remove your existing headlight or the housing it sits in.
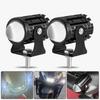
Attach Bracket: Use the provided universal bracket. Position it on your vehicle's fork or headlight mount points. You may need to adjust or modify the bracket for a perfect fit.
Secure the Light: Attach the LED projector to the bracket using the provided bolts and nuts. Ensure it is tight and securely fastened to prevent vibration from loosening it.
Electrical Wiring:
Identify Wires: The main harness usually has three wires:
Red Wire: Connect to the positive terminal of the battery (via the included relay).
Black Wire: Connect to the negative terminal (ground) or a clean grounding point on the chassis.
Connect the Relay: Plug the harness into the relay. The relay should have terminals labeled for battery positive, ground, and trigger.
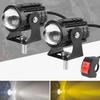
Connect the Color Switch: For dual-color models, the switch will have two or three wires. Connect them to the corresponding wires from the LED light itself (often a separate connector). Mount the switch on your handlebar for easy access.
Reconnect Battery: Reconnect the battery negative terminal and test the light.
Q4: Do I need any special tools or skills to install it?
A: Basic mechanical aptitude and understanding of 12V DC electrical systems are required. You will need common tools like screwdrivers, wrenches, wire strippers/cutters, and possibly a multimeter to identify your bike's high beam wire. If you are not confident, professional installation is highly recommended.
A: The lamp is designed to work as an auxiliary light activated with your high beams. The process is typically:
Q6: Can I use this as my only headlight?
A: This depends on local laws and the light's beam pattern. While it is very bright, it is primarily marketed as an auxiliary driving or fog light. Using it as a sole low beam may not be legal as the beam pattern might not be certified for road use. Always check your local vehicle regulations.
Q7: Is it waterproof?
A: These lights are generally advertised as IP67 waterproof, meaning they can withstand rain, splashes, and even temporary immersion. However, always ensure the rubber sealing gasket on the back cover is properly seated and that all wire connectors are securely plugged in and waterproofed.
Q9: The white/yellow color switch isn't working.
A:
Check the Fuse: Locate the in-line fuse on the red power wire and see if it's blown.
Check Ground Connection: A poor ground (black wire) is the most common issue. Ensure it is connected to bare metal on the chassis, not painted or rusty surfaces.
Check Power Connection: Ensure the red wire is securely connected to the battery positive terminal.
Check Trigger Wire: Verify the white/yellow wire is correctly spliced into your motorcycle's high beam wire. Use a multimeter to test if it receives 12V when the high beams are on.
Q8: The light does not turn on at all. What should I check?
A: Follow these steps:
Troubleshooting & ProblemsQ9: The white/yellow color switch isn't working.
A:
Q10: The light flickers or is dim.
A: This almost always indicates a wiring problem.
Loose Connection: Check every connection along the harness, especially the ground and the connections at the battery.
Poor Ground: Try running a new ground wire directly to the battery negative terminal to test.
Faulty Relay: While rare, the relay could be defective.
Q11: The beam pattern is pointing at the sky or the ground. How do I adjust it?
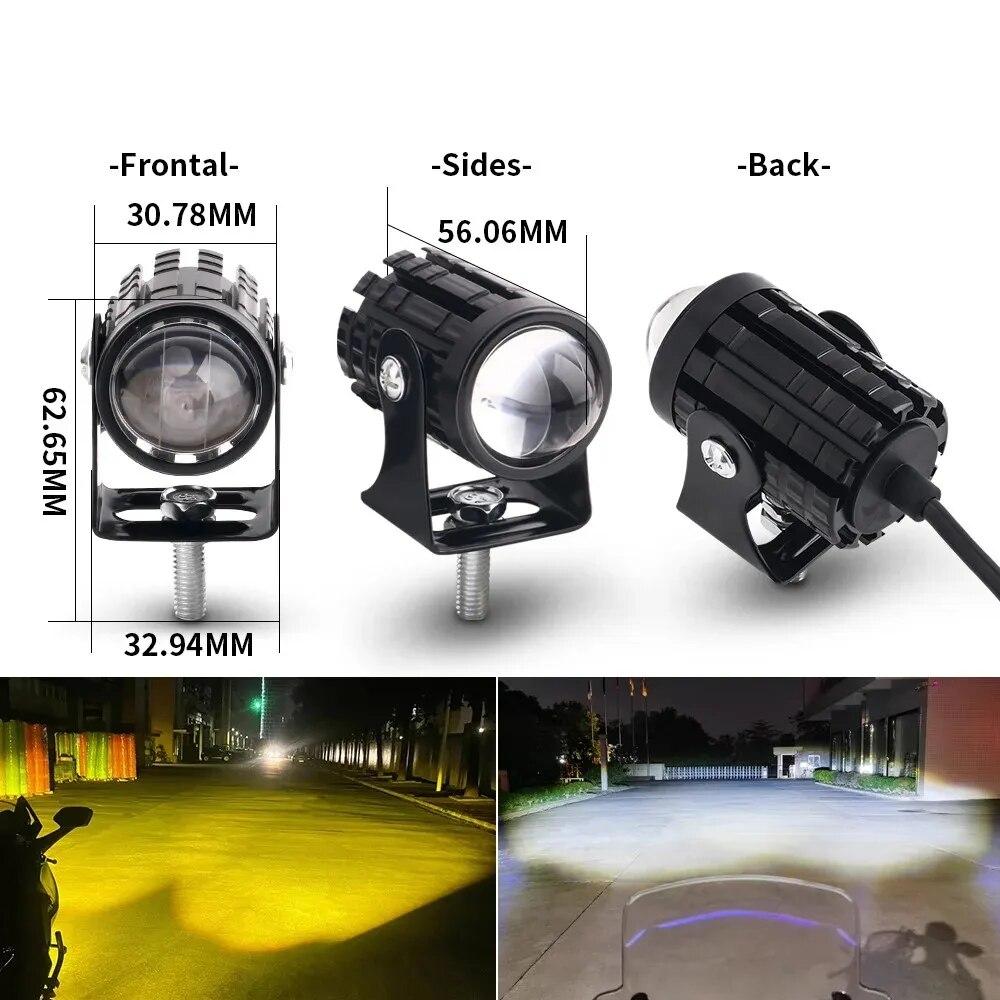
A: The projector lens is mounted inside a housing that can usually be adjusted.
Vertical Adjustment: Loosen the bolt(s) on the bracket that control the up-and-down tilt of the light. Point the light at a wall about 10-15 feet away on level ground to adjust it properly. The sharp cut-off line should be horizontal and not too high, to avoid blinding other drivers.
Tighten Securely: Once adjusted, ensure all adjustment bolts are tightened completely to prevent vibration from changing the aim.
Q12: Is it legal to use this on public roads?
A: Laws regarding auxiliary lighting vary greatly by country, state, and province. Many regions have strict rules on the number, placement, and aim of additional lights. It is your responsibility to know and follow your local laws. Typically, these lights should only be used off-road or in conjunction with your high beams where permitted.
Label:Yes


 No-delivery refund