Sajten stöder inte din webbläsare. Uppdatera webbläsaren eller ladda ner en annan


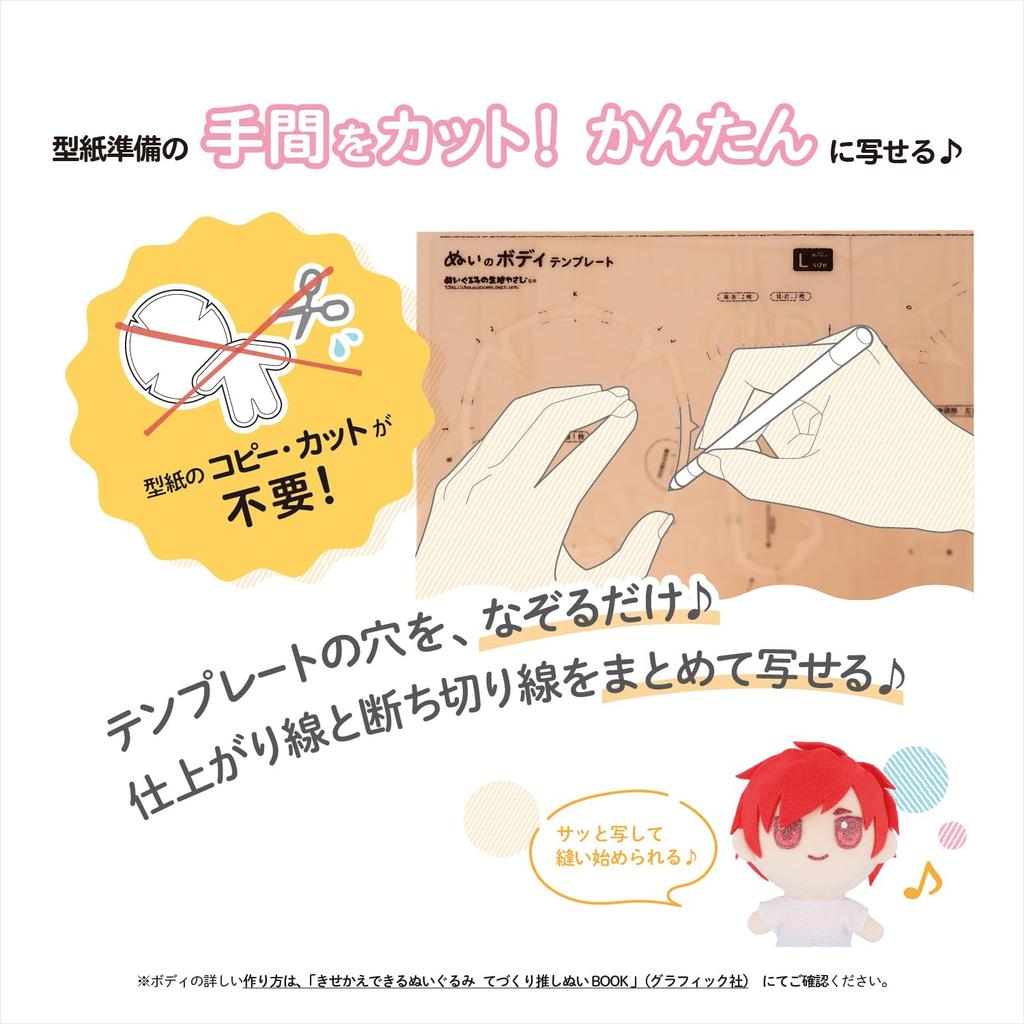


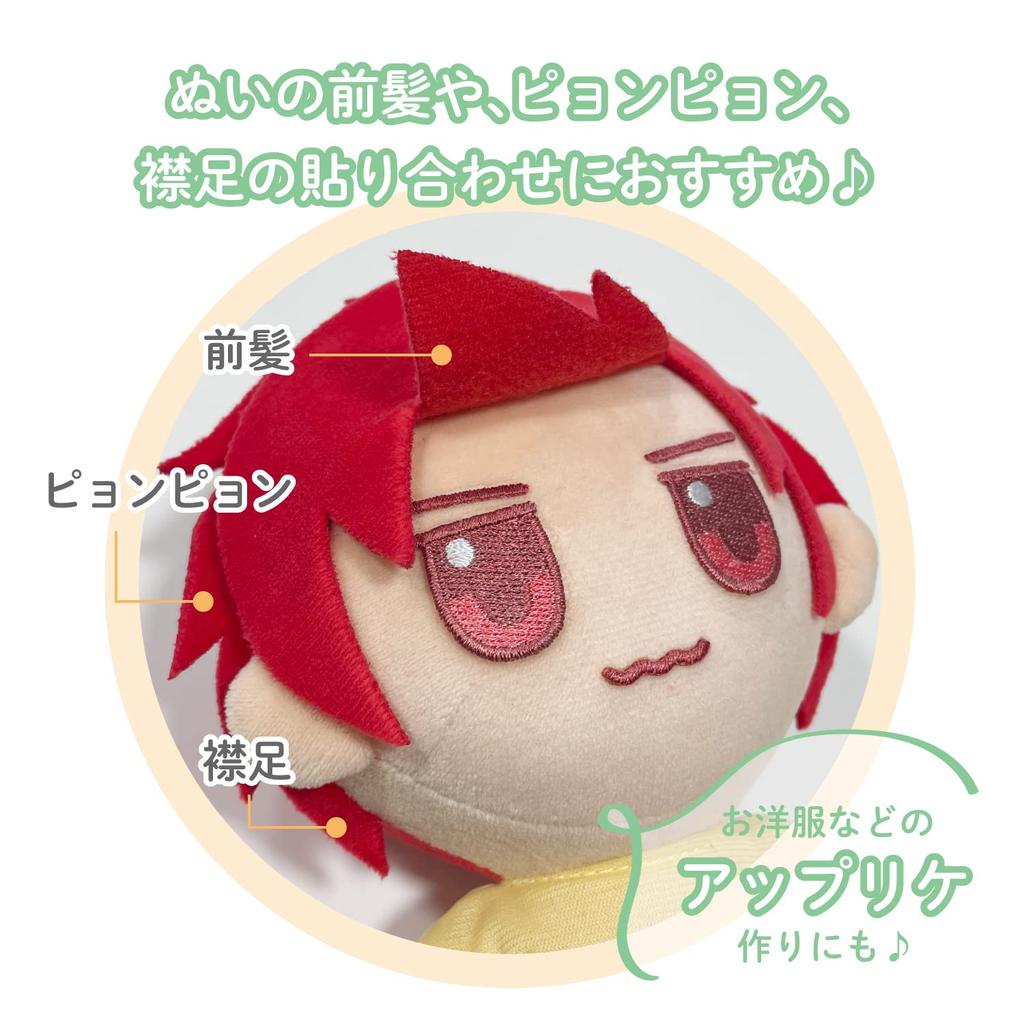
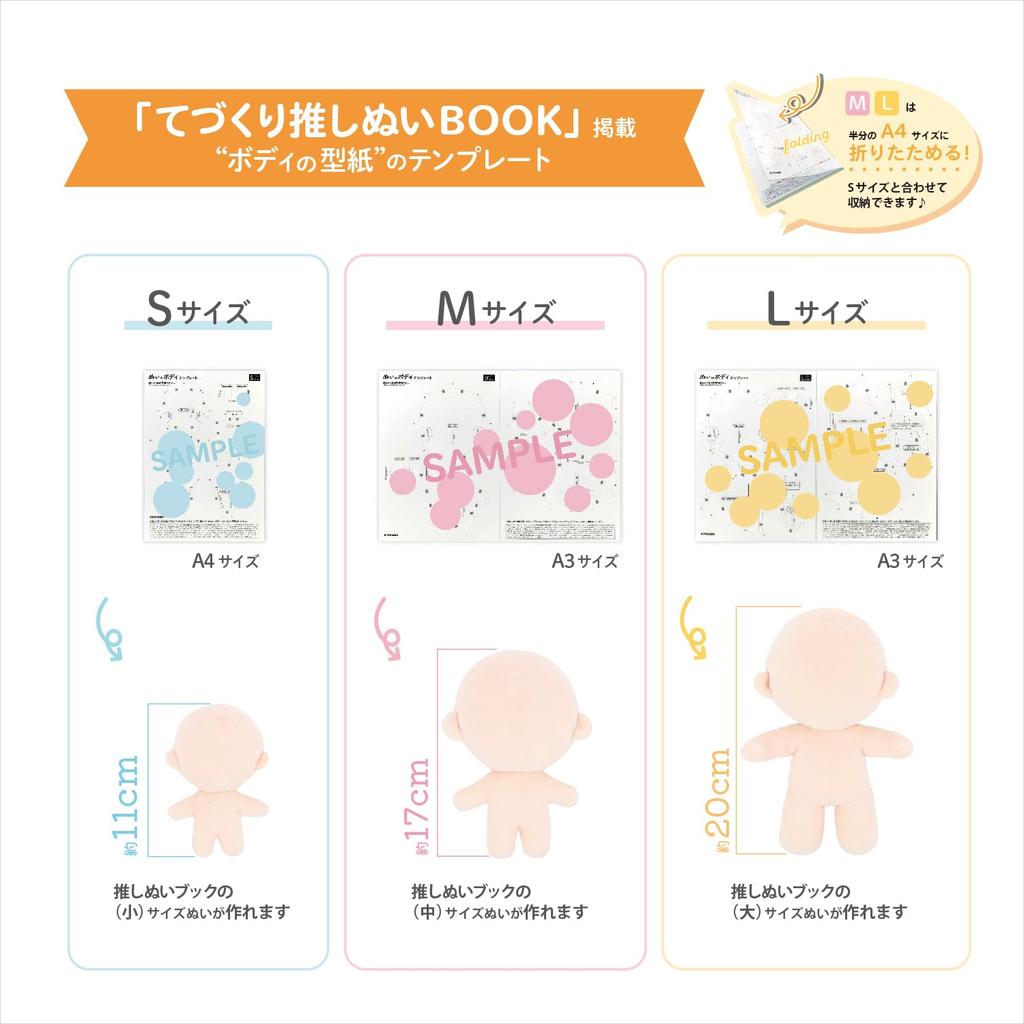
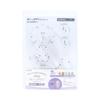
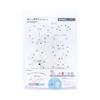
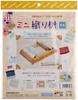
KIYOHARA Tryckstygn Materialset, Medium, NUISB-M
Nuvarande pris
Pris 1 267,80 krMoms och avgifter ingår

Leverans över 🇸🇪 Sverige
10–22 arbetsdag · 40 kr

Dina betalningar och din integritet är säkra


 Återbetalning vid utebliven leveransKvalitetsgarantiSäker logistikIntegritetsskydd
Säkerhet och efterlevnad
Beskrivning
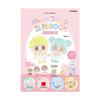
SAKURA J-Happy Selection
5/3
Liknande produkter


![Av ITO Resehandduk Engångs Våt och Bärbar Kropp 2 Vit Färg [Set 3] Set, Handdukar, Torr, Resa, (1 + Ansikte)](https://img.joomcdn.net/fa009050aedfc8f19a0149c7e7ae62d569576071_100_100.jpeg)
